
A friend asked how I made my wonky stars
so decided to share a tutorial. I really
enjoy making them in all sizes, colors and settings.
I was first introduced to similar stars in
Bonnie Hunter’s Crumb Workshop where she taught Maverick Stars. Since then I have seen other similar
stars called Wonky Stars.
You may want to check out
:
Elizabeth
Hartman’s Sparkle Punch quilt
SewMamaSew
blog tutorial
You can watch Jenny at Missouri Star Quilts on YouTube.
Following is my preferred
method.
I begin with 8 squares of consistent size
and value plus 5 of the same size and opposite value. (either with light or
dark stars.)


Of the 5, leave one alone
and cut the other 4 diagonally into triangles. (You can use scrap triangles
instead.) Layout the 8 similar squares as
you would a 9 patch with the opposite value in the center.

Work with the middle square on each side of
the nine patch to sew the star points.
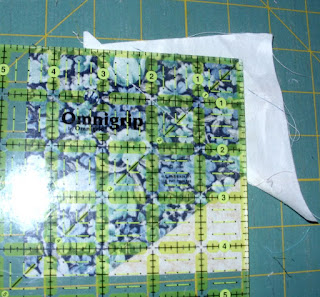
Lay a triangle RST onto
the square so that at least ¼” inch is off one edge and the other about in the
middle of the adjacent side. The star point can be tall, thin, short or fat
depending on how “wonky” you want your stars.
Sew about ¼” along the edge of the triangle.

Press out and trim to match the square. Then trim
away behind the triangle.


Next sew a triangle onto
the opposite side of the square and about the middle of the adjacent side covering
the previous triangle seam by about ¼”.

Press out and trim to match the square. Then trim
away behind the triangle. Repeat for all 4 units.

Now you can lay out as a
nine patch and sew

OR the stars can be offset
in 16 patch for a floating setting

OR wait … if you want the stars points to float with other stars. For the following setting, the star units are
constructed separately and sewn in rows after the layout is determined.

I hope you will give the
Wonky Stars a try.
Enjoy.
Good tutorial! I finished up a small stack of these recently and hope to get a top together soon. Thanks for more inspiration.
ReplyDelete