Showing posts with label Seminole Piecing. Show all posts

Thursday, September 11, 2014

Seminole Piecing

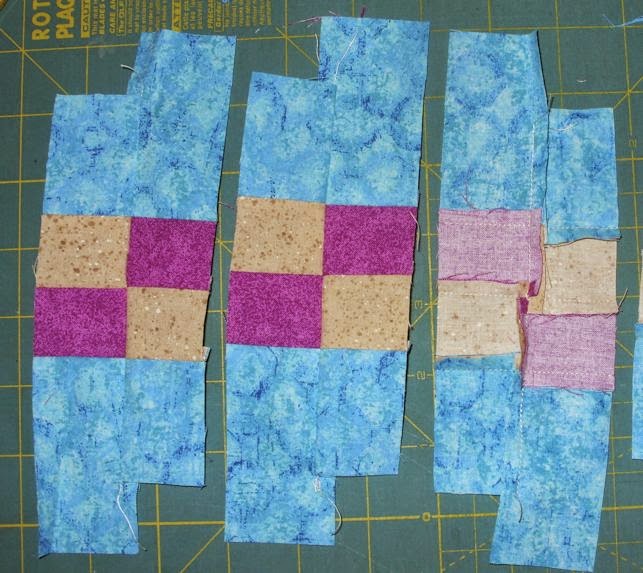
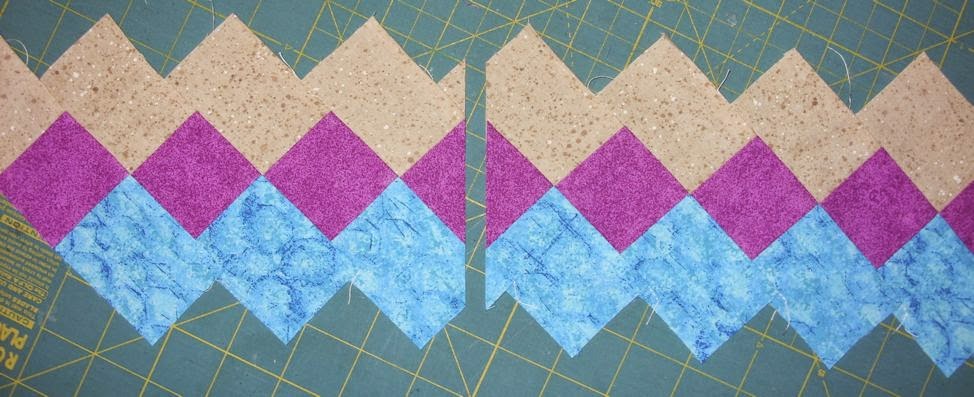
         At SQG we pieced simple step Seminole strips. This was the first time for most.  Later these strips will be joined with solid strips and other Seminole strips to form 12" quilt blocks.
Here are some photos from the day of sewing.


Tuesday, September 9, 2014

Harlequin Seminole Band


1.     Cut strips.         2 ”  fabric A background
                          1 ½ ”    fabric B
                          1 ½ ”    fabric C
                         3 ”  fabric A background

2.    Sew the strip set with shortened stitch length since we will be slicing the seams into sections.

3.    Finger press seams A towards B, B towards C and C towards A.  (As a general rule, press strips to reduce bulk and allow for nesting seams.) Press bands gently from the right side, with enough pressure to flatten, but without stretching any bias edges.

4.    Cut pieces into 1 ½ ” segments.

5.    Pair segments, flip one and align pairs, nesting B and C.  Sew together pairs. 

                        
6.    Next align sets so the bottom seams of C nest.  Sew together. 


7.    Once the band is sewn together, turn it on its side so that the squares stand up on point.  At both ends add a 4 ½” half-square triangle of the spacer fabric to each end. 


8.    Trim edges leaving a seam allowance.  Band will finish at 3" high.


For narrow band to finish at 1 3/4” high, use fabric strips as follows:
  1 1/4 ”    WOF or half   fabric A
                                        1 ”    WOF or half   fabric B
     1 ”    WOF or half   fabric C
                                     1 3/4”     WOF or half    fabric A

Monday, September 8, 2014

Simple Seminole Band Tutorial

After a couple of hours of FMQ, I wanted to do some different sewing for a while.  My church quilt  group is planning to try some Seminole Piecing for our Wednesday meeting so I decided to try some.  I wrote up some instructions for 2 simple bands.

Simple Stairstep


1.     Cut strips.         2 ½” WOF or half  fabric A 
                          2”    WOF or half   fabric B
                          2 ½” WOF or half   fabric C

2.    Sew the strip set with shortened stitch length since we will be slicing the seams into sections.

3.    Press seams toward center strip.  (As a general rule, press strips to reduce bulk and allow for nesting seams.) Press bands gently from the right side, with enough pressure to flatten, but without stretching any bias edges.

4.    Cut pieces into 2” segments.

5.    Align the pieces in steps (seams should nest) and sew together. 

6.    Once the stairstep band is sewn together, turn it on its side so that the squares stand up on point.  At both ends there will be wasted angled pieces.  To maximize the usable band area, make a single slice straight up and down anywhere in the band.  Now match and sew the two angled edges together.


Another option that avoids the uneven look the first option causes.
Rather than slicing and transferring, simply add a large half-square triangle of the spacer fabric to each end. 

7.    Trim edges leaving a seam allowance.  Finishes at 2" high  finished or 2 1/2" to float depending on how closely you trim.

Carefully press bands gently from the right side, with enough pressure to flatten, but without stretching any bias edges.

For narrow band to finish at 1 ¼” high, use fabric strips as follows:
                             1 ½”   WOF or half   fabric A
                 1 ¼ ”    WOF or half   fabric B

                 1 ½”  WOF or half     fabric C


I hope you will try some Seminole bands.  I plan to add instructions for another band tomorrow and then photos from our Wednesday work.